 Installation & Licensing Center
HOW TO - Create a Cube & Apply Gravity
![]() Authored by Nick Heberle
August 28th, 2025
7203 views
0 likes
Authored by Nick Heberle
August 28th, 2025
7203 views
0 likes
![]() KB1505073
KB1505073
Description
Creating a cube and apply gravity creates a simple simulation that can be used for testing solving in Mechanical. This can be helpful when troubleshooting issues.
Solution
- Open Workbench > double-click Static Structural to add this analysis system to the Project Schematic.
- RMB on the Geometry cell and choose New Discovery Geometry.
- In Discovery, press Ctrl + Shift + B to create a new cube > close Discovery.
- In Workbench, double-click on the Model cell to start Mechanical.
- In the Outline pane on the left, select Static Structural.
- Press and hold the scroll wheel to rotate the cube to view the bottom face of the cube (or use the Rotate open in the menu above the cube), and LMB to select the bottom face of the cube, then RMB > Insert > Fixed Support
- Press and hold the scroll wheel to rotate the cube to view the top face of the cube, and LMB to select the top face of the cube, then RMB > Insert > Standard Earth Gravity.
- In the Outline pane on the left, select Solution.
- In the Home ribbon, click Solve.
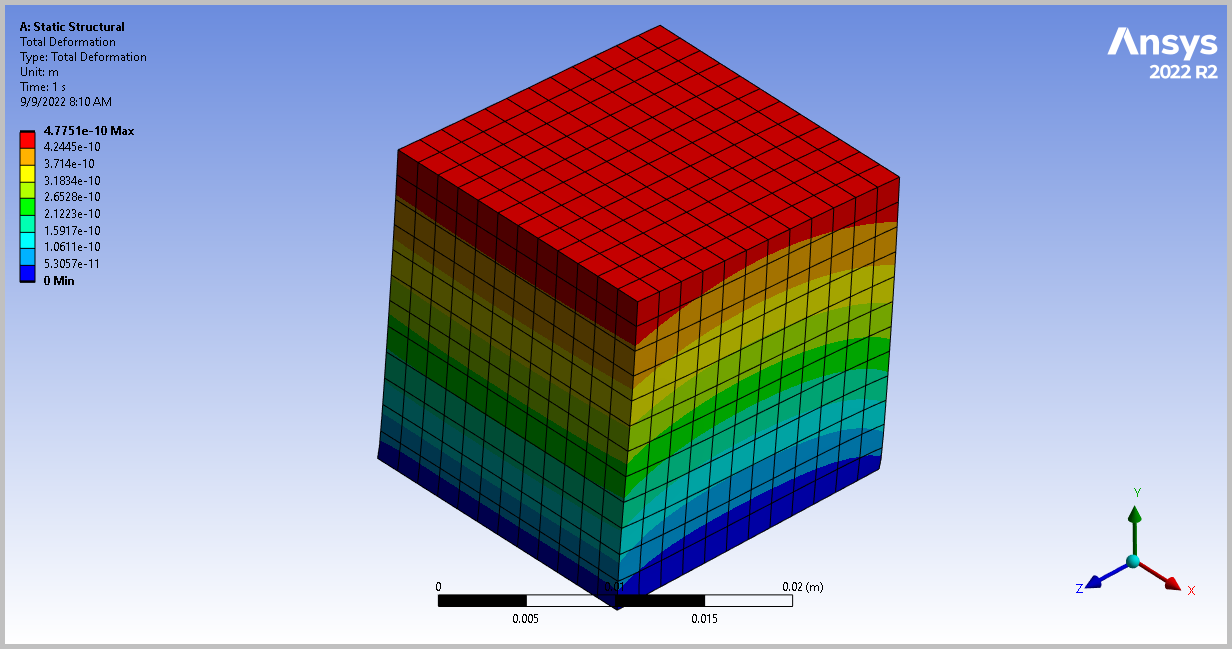
- Select the Solution ribbon > click Deformation > Total.
- In the Outline pane on the left, RMB on Total Deformation > Retrieve This Result.
