 Installation & Licensing Center
RSM Installation Quick Start Guide (Windows)
![]() Authored by Steve Barnett
July 4th, 2023
7794 views
0 likes
Authored by Steve Barnett
July 4th, 2023
7794 views
0 likes
![]() KB1612310
KB1612310
Description
Ansys Remote Solve Manager (RSM) is an application included with most Ansys software that allows you to push project solving to another faster machine, free up resources on the client machine to work on other projects. We also have a video series available here: HOW TO - Setup Ansys Remote Solve Manager (RSM)
Why use RSM?
- To submit Ansys jobs to a remote, typically more powerful computer for solution.
- To submit Ansys jobs on a local computer for an immediate or delayed background solution.
Common uses of RSM:
- Allowing multiple users to submit jobs to a central more powerful machine.
- Effectively leveraging expensive high-performance computer(s).
-
Maximizing available computer resources.
Electonics RSM
This guide does not apply to Electronics RSM.
Solution
1. Remote Solver Installation
- Install Ansys (ie: 2022R2) Ansys Installation Guide (Start Here!) - SimuTech (simutechgroup.com)
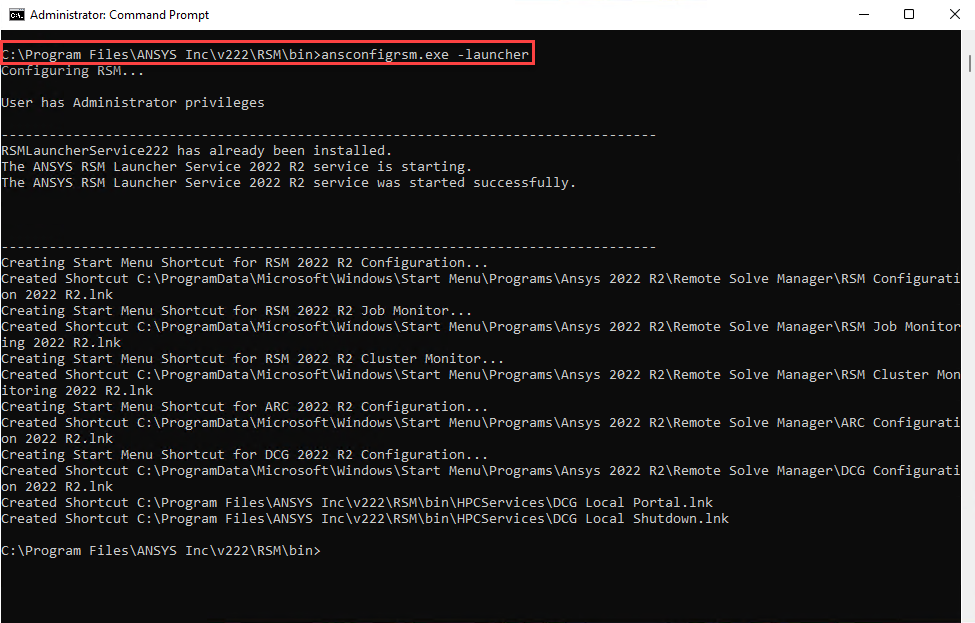
- Open Command Prompt as administrator and navigate to C:\Program FIles\Ansys Inc\v222\RSM\bin, and run the command: ansconfigrsm.exe -launcher
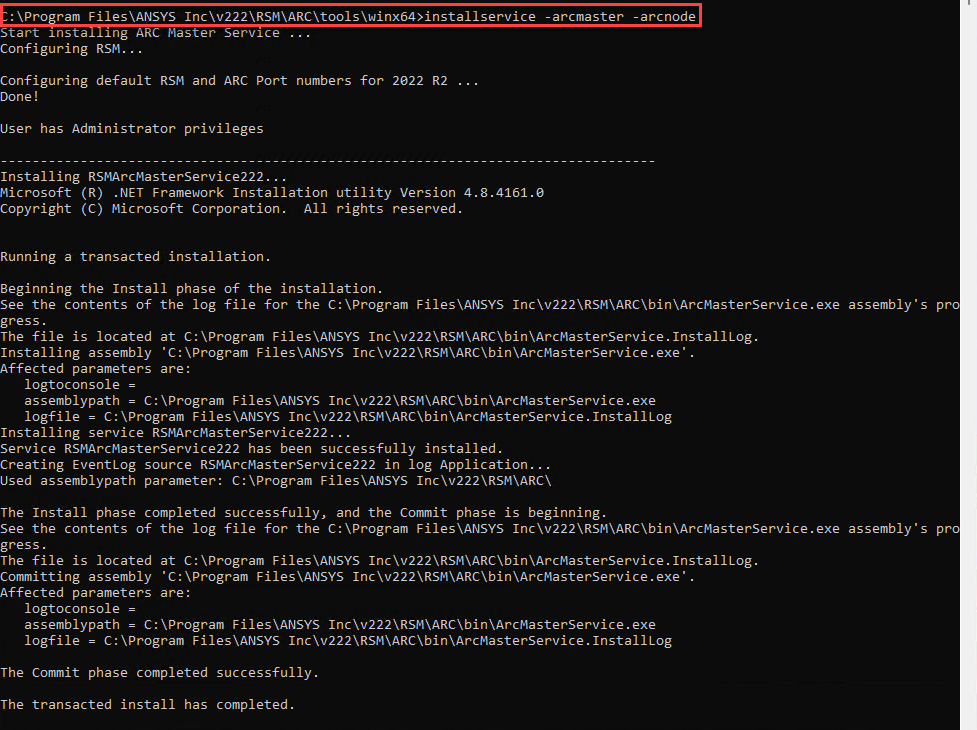
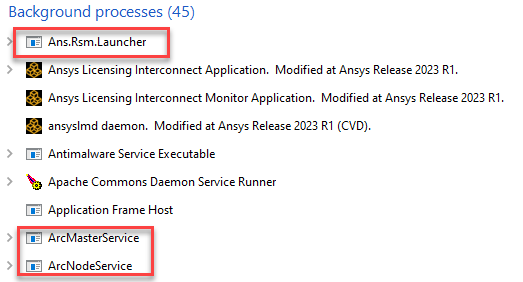
- Remain in Command Prompt and navigate to C:\Program Files\Ansys Inc\v222\RSM\ARC\tools\winx64, and run the command: installservice -arcmaster -arcnode
- Next cache credentials for Master Node in the same directory using this command: arccredentials -a username

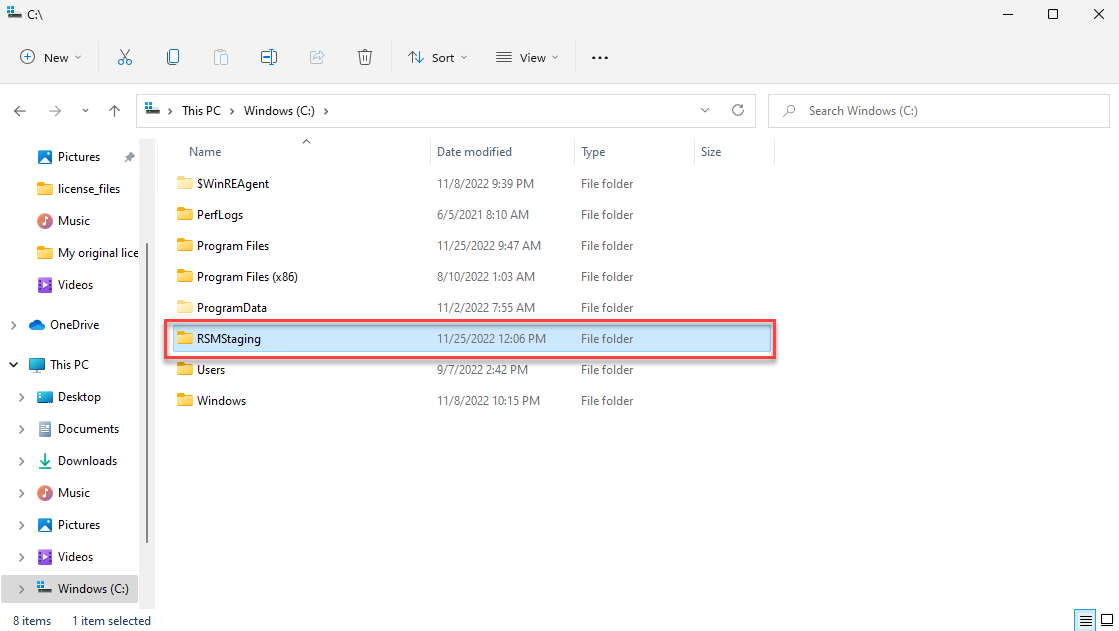
- Create a staging directory, this can be a network share location however we recommend using a local staging directory, C:\RSMStaging is created in this example
- Firewall will either need to be disabled or exceptions created for the RSM processes
2. Additional Compute Node(s) Installation
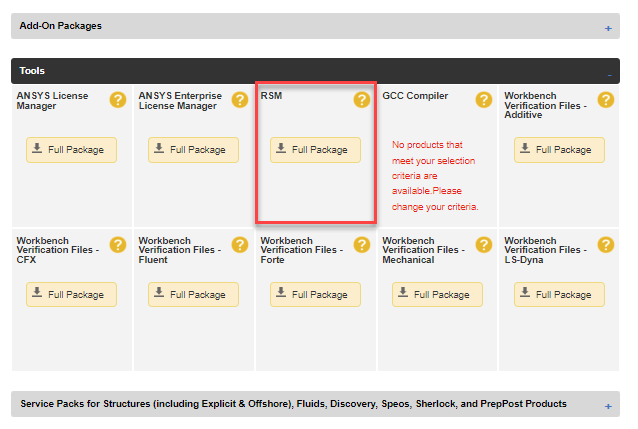
- Download and install RSM only (Ansys Customer Portal → Downloads → Tools), the full Ansys package is not required.
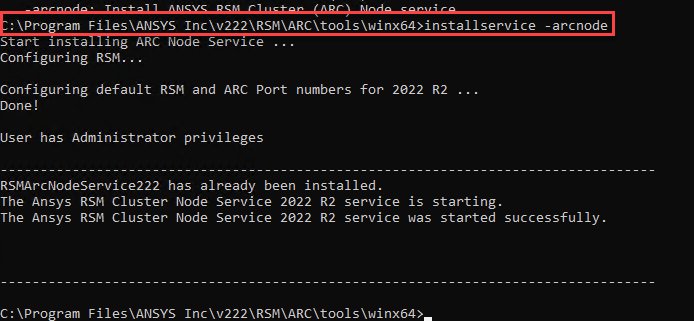
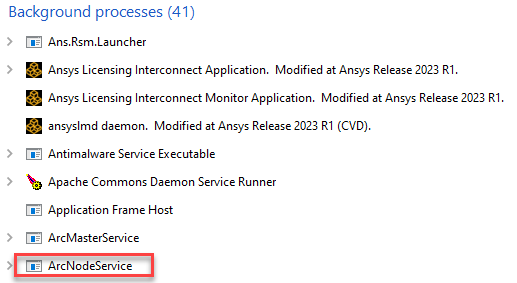
- Launch Command Prompt as administrator and navigate to C:\Program Files\Ansys Inc\v222\RSM\ARC\tools\winx64 and run this command: installservice -arcnode
- Firewall will either need to be disabled or exceptions created for the RSM processes
3. Client Installation
- Install the full suite of Ansys (ie: 2022R2) Ansys Installation Guide (Start Here!) - SimuTech (simutechgroup.com)
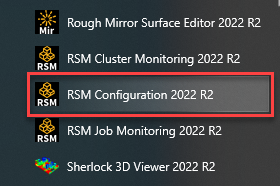
- Launch RSM Configuration, and select the Add HPC Resource button
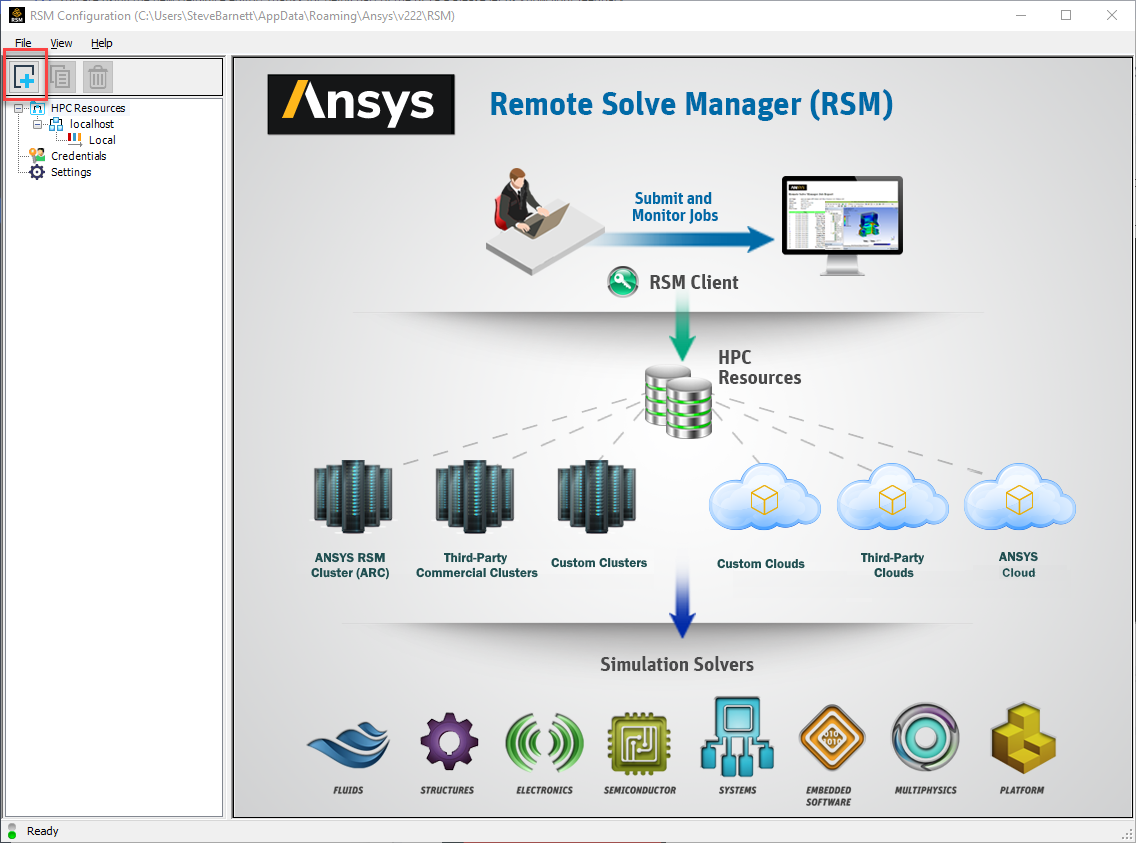
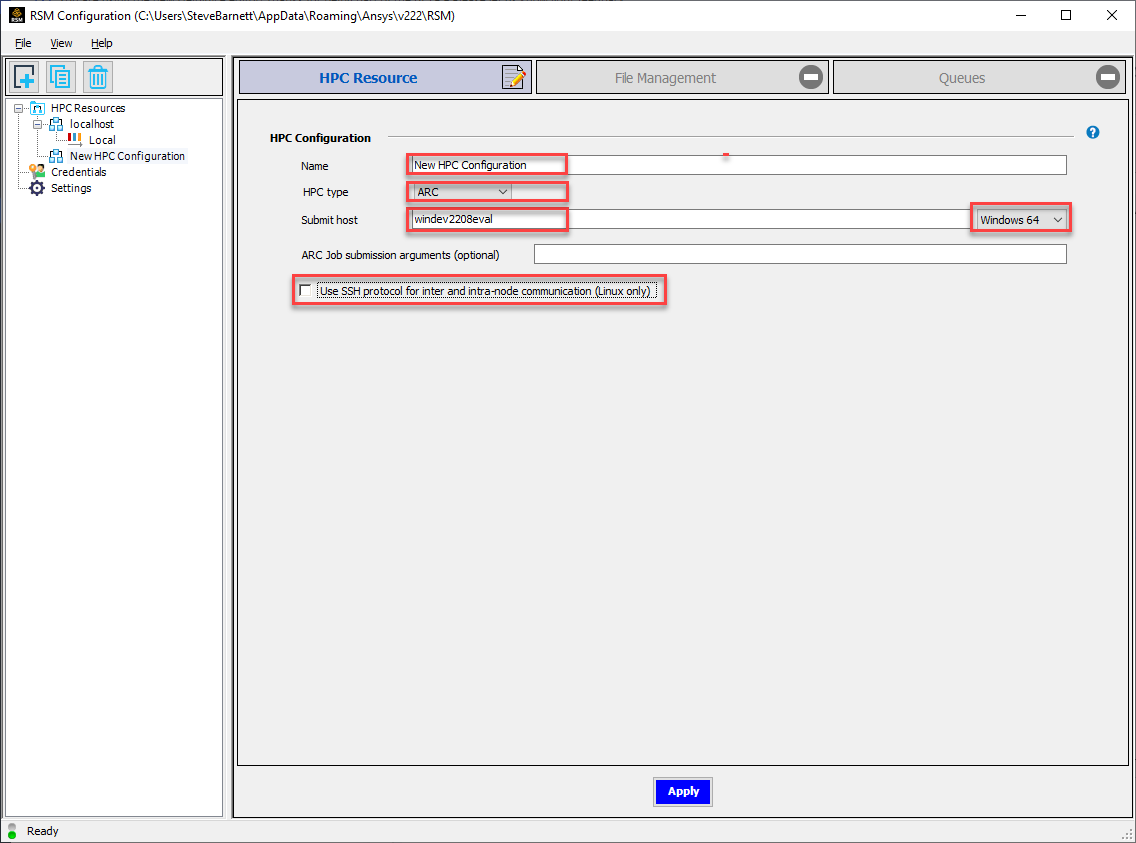
- Select a name for your new HPC Resource, select your HPC type (ARC used in this example), and enter the qualified domain name (preferred over IP address), select the OS of the HPC, and uncheck Use SSH Protocol if not used. Select Apply when finished.
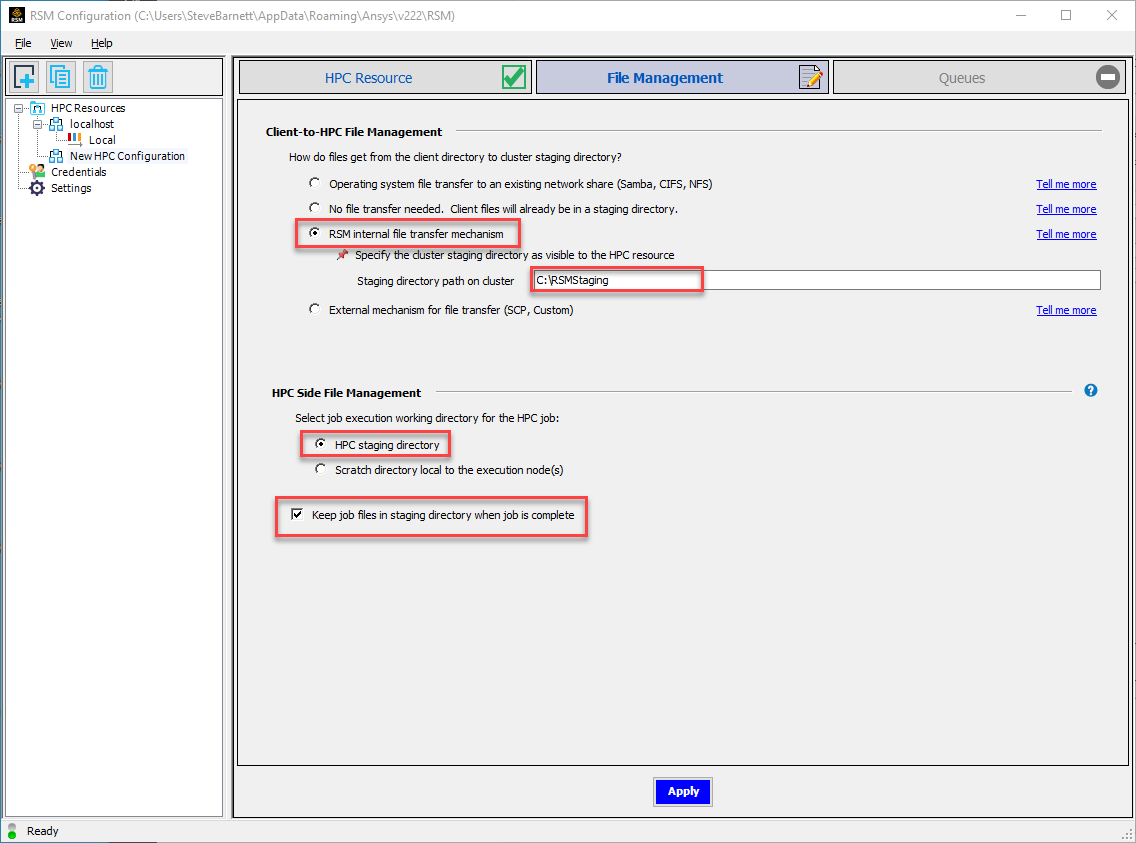
- Select the File Management tab, here we will select the RSM internal file transfer and define the job staging location (created during the Remote Solver installation) on the cluster. HPC Side File Management should be set to HPC staging directory, though a Scratch directory will allow for faster file access if using multiple nodes. Finally, we can select whether to keep the job files in the staging directory once the job is complete, instead of these files being automatically erased once the results have been retrieved. Select Apply when finished.
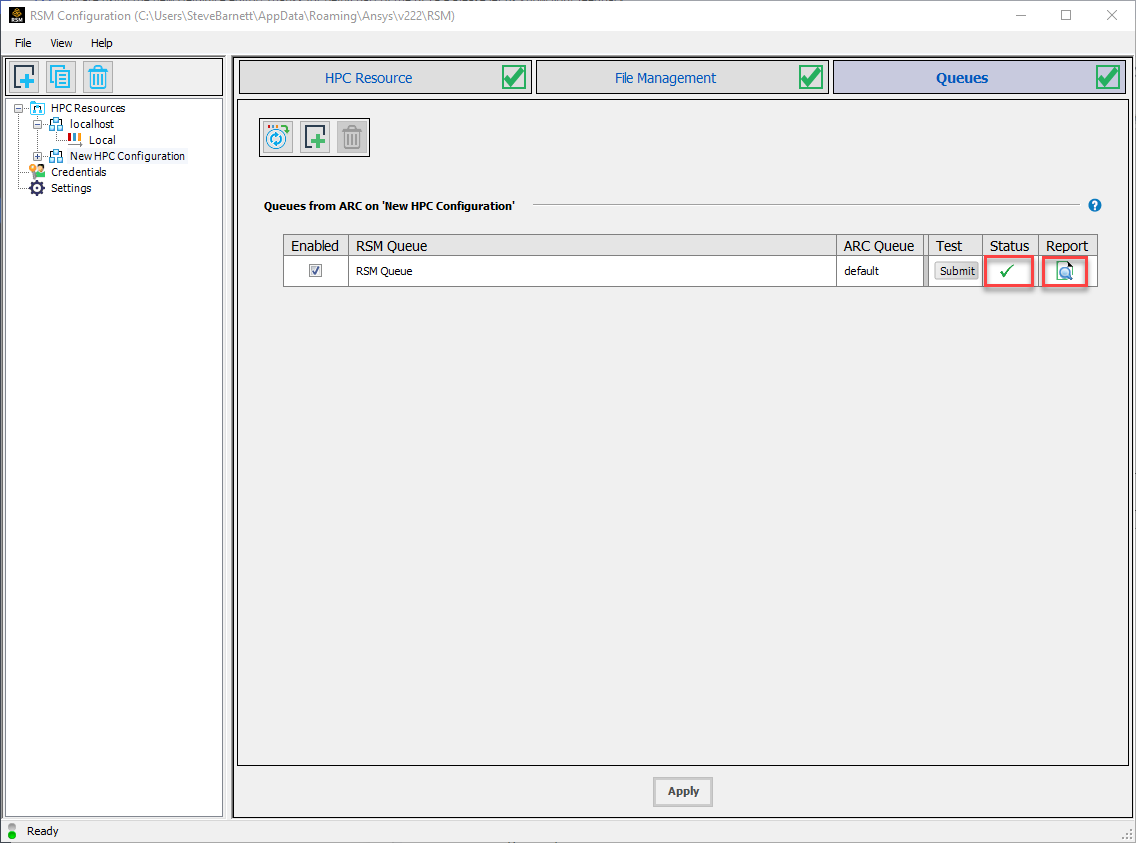
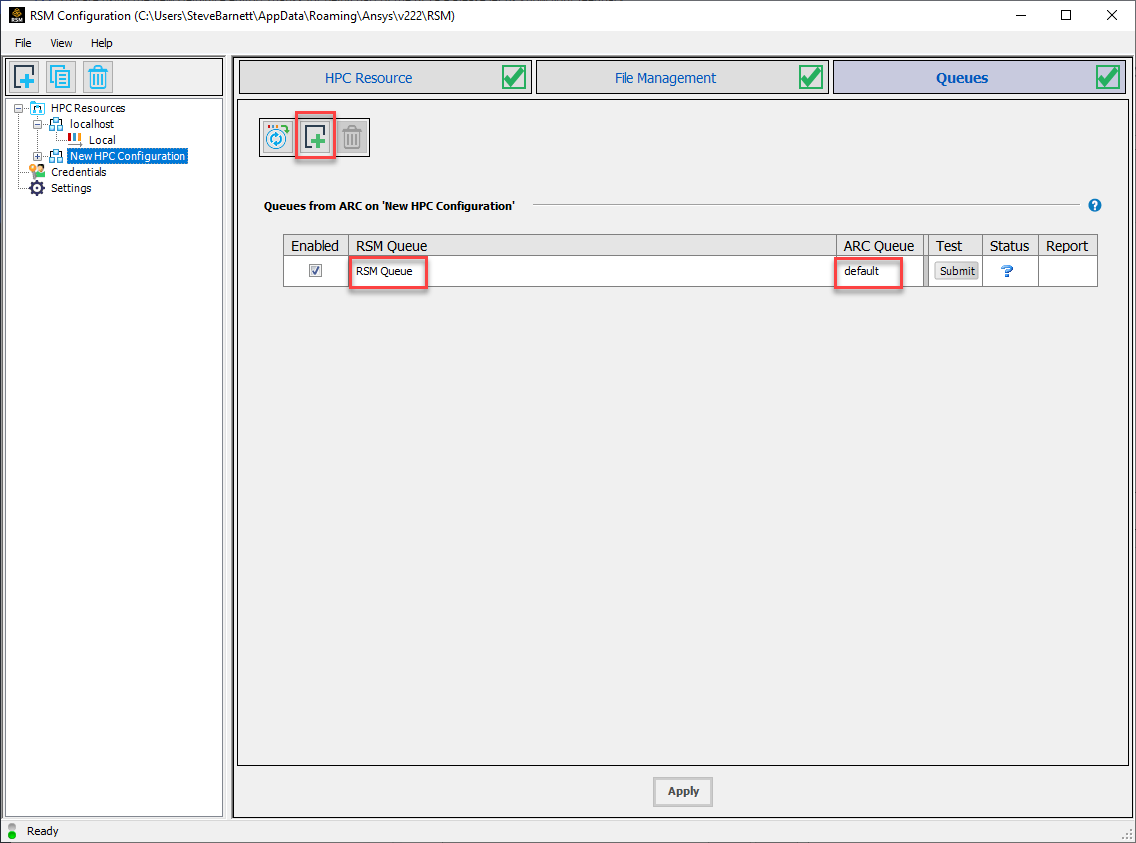
- Next select the Queues tab, and the add a new queue button, select a queue name and input the name of the ARC Queue ("default" is default queue). Now we can select Apply and then select Submit to send a test job, where you will be prompted for credentials.
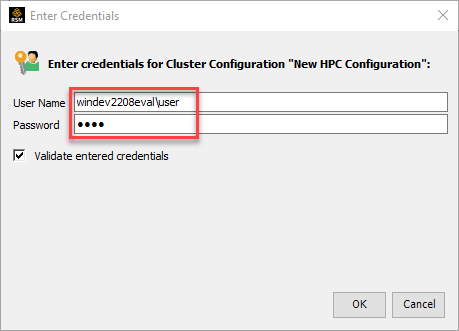
- Enter your credentials (formatted domain\username or machine\username) and make sure Validate entered credentials is checked, and select OK
- Once the test concludes, you will be presented with a green check mark in the status column if successful, and a report is available to view by selecting the icon in the Report column. If the test job fails, please select the View Report button for details.
